Who doesn’t love a simple, spooky & fun way to experience the world of science? This season, get your little one in the Halloween spirit by giving one of our preschool science experiments a try!
Experiment 1 – Ghost Balloons
What You’ll Need:
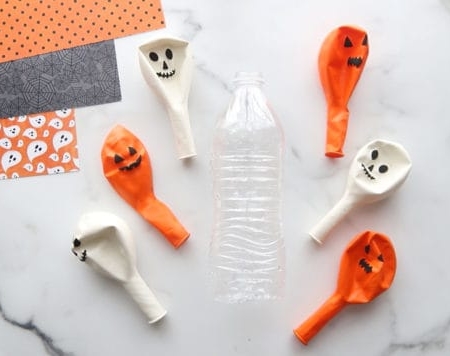
- White balloon (12″ recommended)
- Black sharpie
- Empty water bottle
- Vinegar
- Baking soda
- Funnel (optional)
Experiment Steps:
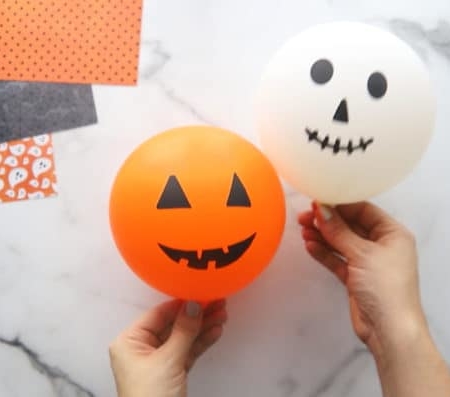
- Draw eyes on the white balloon & make them dark – they will definitely lighten as the balloon expands!
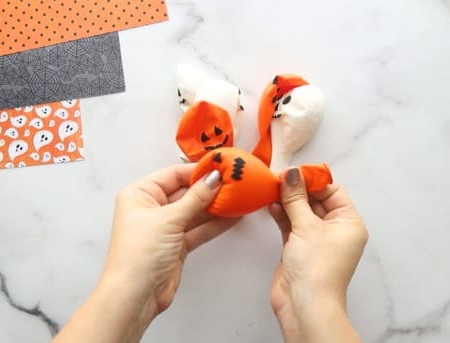
- Add about 2 tablespoons baking soda to the balloon. A funnel may help, be careful not to smudge the eyes.
- Add about 1 cup of vinegar to the water bottle.
- Secure the balloon to the water bottle – making sure the baking soda does not fall in accidentally. If you are using a 12″ balloon (recommended), slide as much of the “neck” of the balloon down the top of the water bottle (without breaking the balloon, of course!). This will help the balloon stand up better.
- Quickly, shake the baking soda into the balloon and watch your ghost grow!
- Let your preschooler touch, play & experiment with the spooky balloon ghost!
What’s Happening During the Experiment:
This science experiment will teach your preschooler about chemical reactions. The vinegar and baking soda react with one another to form carbon dioxide – a gas that bubbles up, out of the bottle… and into the balloon! Spooky right?
Experiment 2 – Melting Frozen Hands
What You’ll Need:
- Surgical gloves
- Twist ties
- Fun craft & Halloween-themed items (beads, buttons, googly eyes, chopped up straws, craft foam pieces etc.)
- Water
- Food coloring
Experiment Steps:
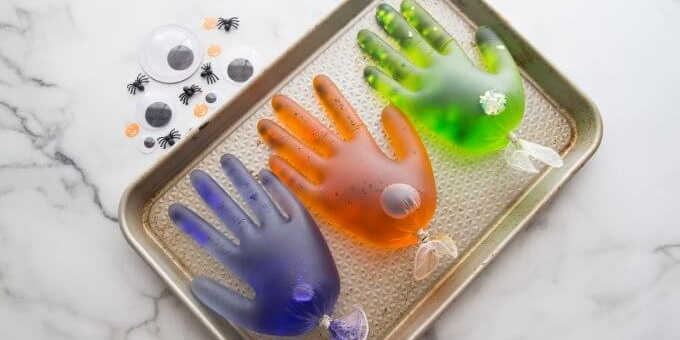
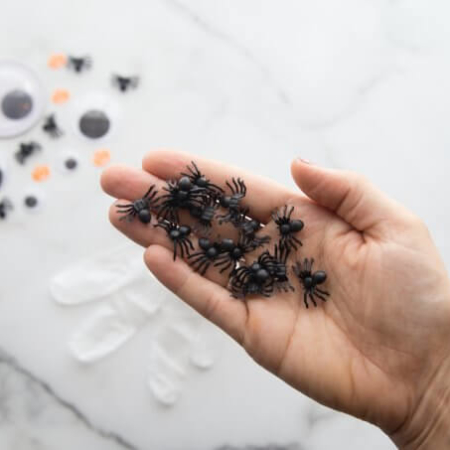
- To start, have your preschooler fill the surgical glove with their favorite (small) Halloween-themed items! Have them drop the items into the gloves and work them down into the fingertips.
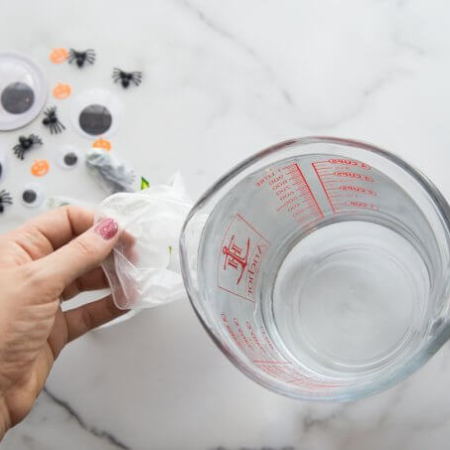
- Fill the gloves with water, and add a few drops of food coloring. Pro Tip: There can be a lesson in color mixing here! If you don’t have orange food coloring at home – add a few drops of yellow and red to one glove to make it!
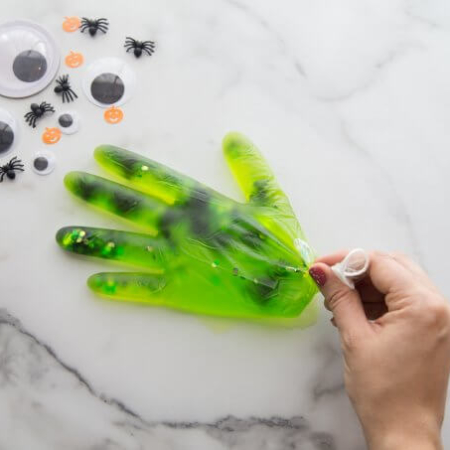
- Give each glove a twist and secure it tightly with a twist-tie.
- Give the hands a little shake to distribute the food color evenly throughout the glove (to be safe, you might want to do this over the sink).
- Place the gloves on a cookie sheet and pop the whole thing into the freezer. Prepare to let the gloves sit in there for one full day.
- A day later, take the gloves out of the freezer and remove the plastic surgical glove.
- Next, round up an interesting collection of tools and instruments for the children to melt the ice and dig for their Halloween treasures. Try these spooky ideas – colored salt (several spoonful’s of salt mixed with a few drops of food color), syringes and medicine droppers, pate knives, small spoons, wide paint brushes, large shallow storage container & a bowl of water.
- Sprinkle the salt, pour the water, chop, scrape & scrub away to reveal your Halloween treasures!
For more STEM activities & experiments for preschoolers, visit Little Bins for Little Hands.

